Have you ever loved something until you checked the price tag? That’s me with this Chanel Hair clip. When Chanel had this hair clip showcased during their 2019 Fall show, I knew it was love at first sight.
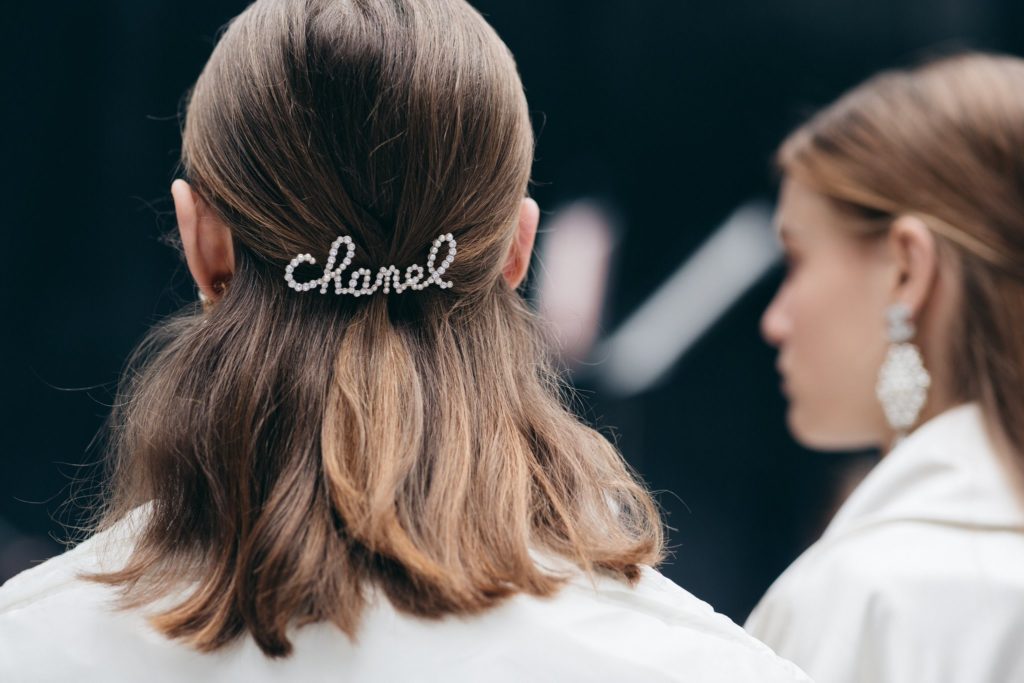
This clip has been in so many of my mood boards and with so much free time during the Pandemic, I figured why not recreate it? I’ve loved creating things for myself in the past (check out this cute Disney bag I made) so I decided to try to DIY the hair clip!
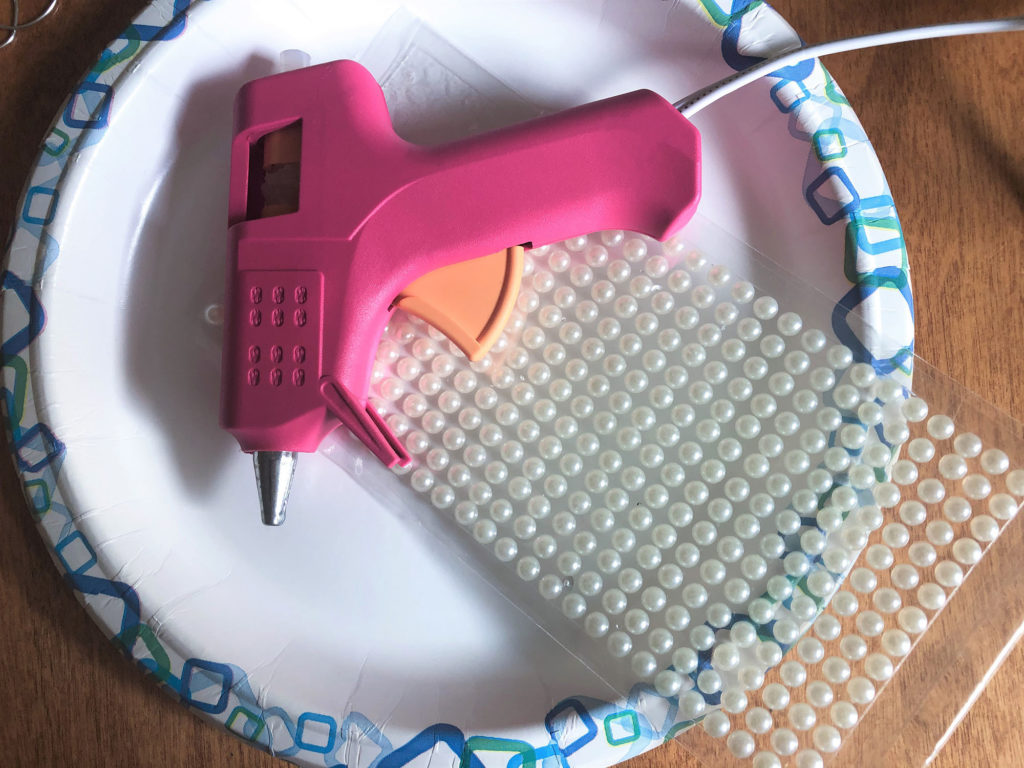
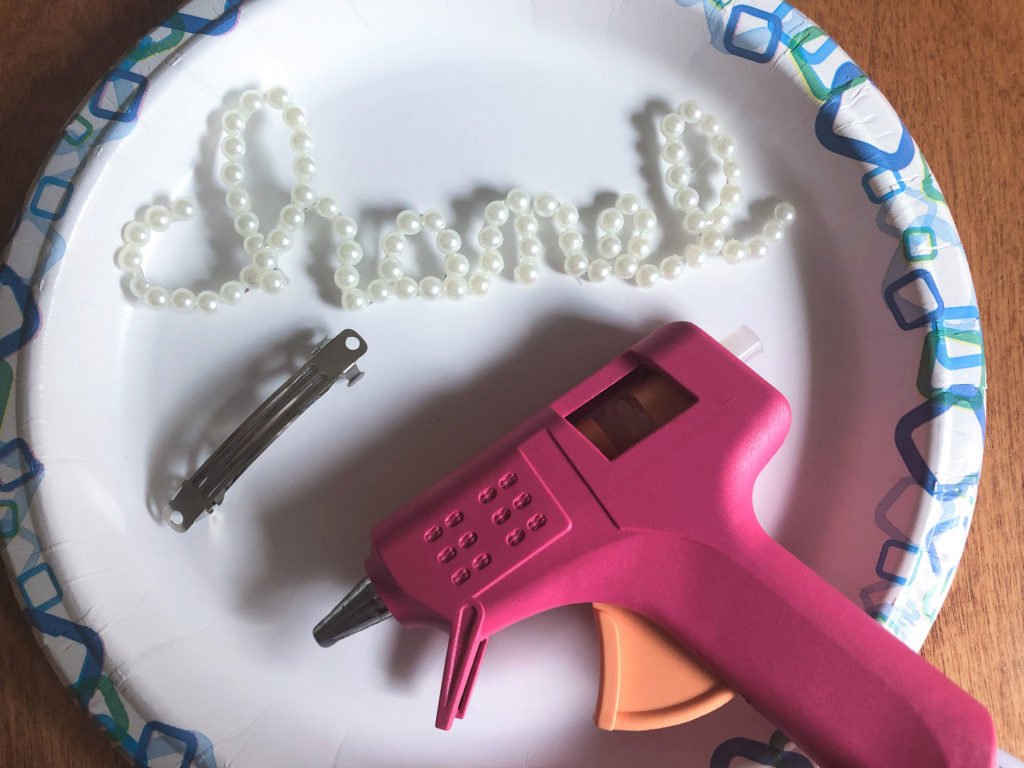
DIY Supplies
- Jewelry wire (I used silver to match the color of the clip)
- Stick on pearls
- Glue gun (The one I used ironically broke so I recommend checking reviews and purchasing whichever works for you)
- Barrette clips (The pack I found only had small clips but this one includes larger which could be sturdier!)
- Wire Cutter or Scissors (As long as you’re using the jewelry wire it will be pliable enough to be cut by scissors. Should you use a different wire be sure to look into getting the proper tools to handle it)
Putting it all together
It’s important to be extremely careful when doing this DIY because of the high temperatures of the glue gun. Don’t accidentally burn yourself like I did 🙂
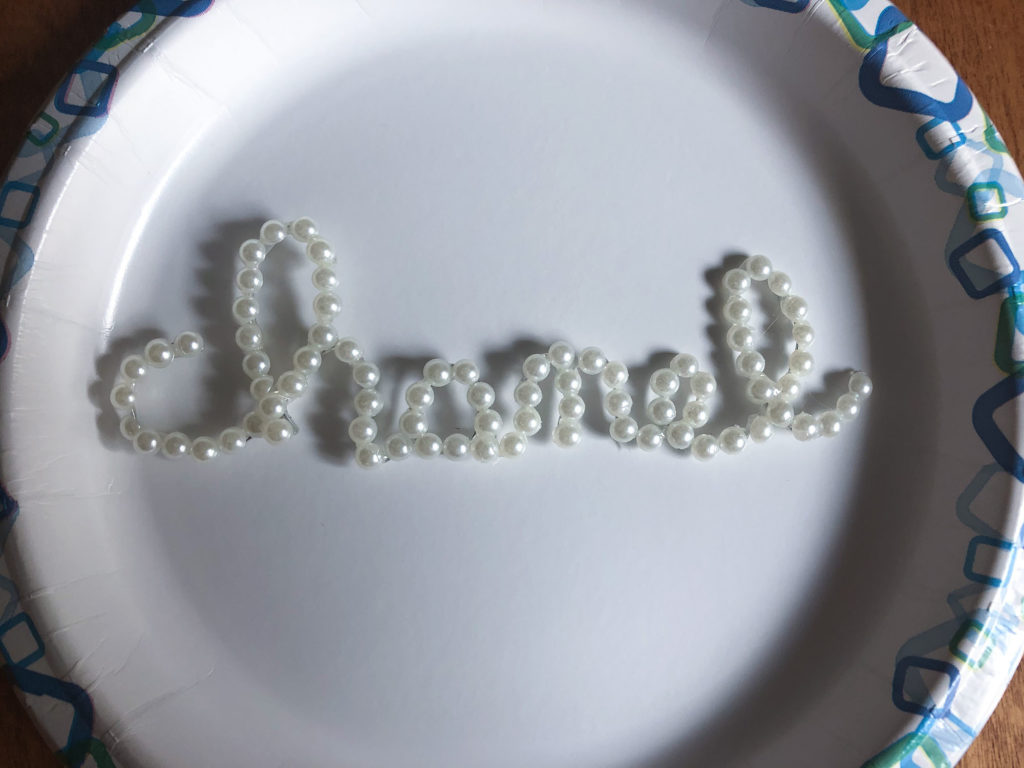
The Framing
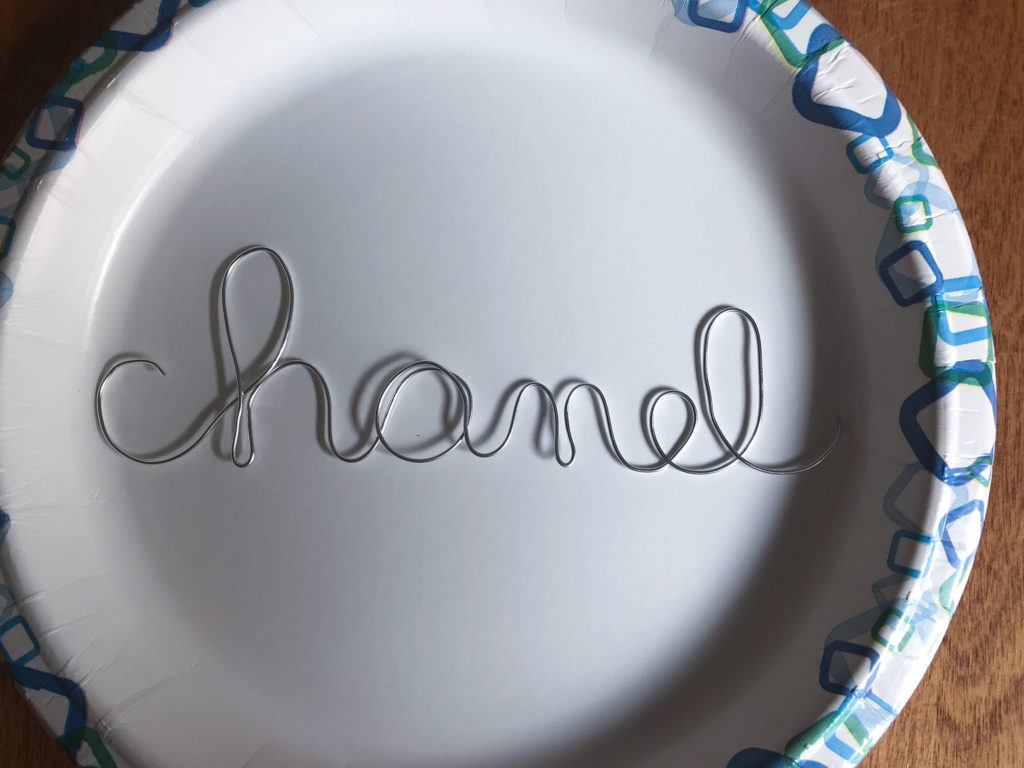
Start by bending the wire into the shape of the letters. I personally just started with one end and pulled more wire as I went instead of precutting it. The wire is easy to shape by hand and can actually be cut by scissors if you don’t have a wire cutter.
The Pearls
After you’ve made the frame of the lettering it’s time to start adding the pearls. These come on a sticker sheet designed to be used in strips or cut out of the sheet so I personally peeled them off and kept them to the side on a paper plate. I used about 70-80 pearls but depending on the size of the frame it may need more or less. The sheet itself will have enough to make at least 4-5 clips.
After you’ve set aside your pearls make sure your glue gun is heated and ready for use. To attach the pearls onto the frame I firstly covered enough wiring space with glue for about 1-3 pearls and began placing them very carefully. I found it was easiest to do this holding the opposite end of the frame above the plate so that I wasn’t unintentionally gluing it onto the surface.
I kept doing this throughout the entire process and at times would start to change parts of the framing for a cleaner look like the original hair clip. This entire process took me about an hour and a half, I just put on Netflix as background noise and as something to watch during breaks.
If you think your pearls are secure enough flip your frame over and add some glue to the back to strengthen them. When you’re satisfied with how it looks, leave it to set for at least an hour. I personally left mine for a day because I was still trying to figure out how I wanted to attach it to the hair clip.
Attaching the clip
When I first did this I made the mistake of just adding a ton of glue directly onto the clip and then pressing the piece down but please DO NOT do this. The in-between spaces look odd and it’s just not cute.
After I peeled all of the excess glue off, I tested what points of the lettering I actually wanted to be attached to the clip. When I found where I liked it to sit I put raised hot glue dots onto them and then pressed the lettering onto the clip.
After letting it sit for a minute I went back into the areas with a bit more glue or just the hot tool itself to make sure the glue molded to the clip to secure it more. For this step you could also use superglue, I just didn’t have any on hand.
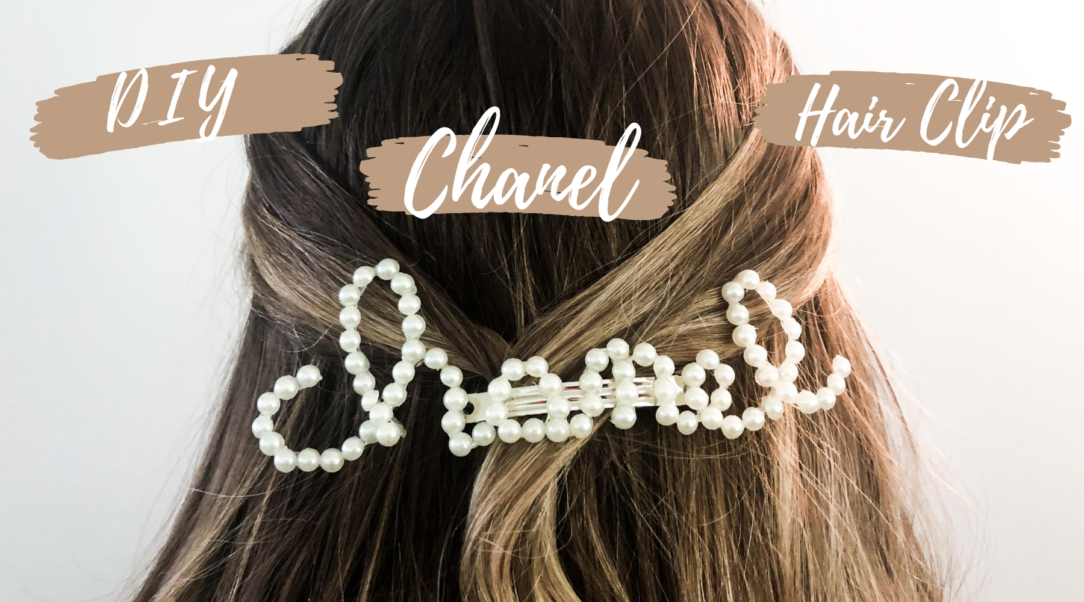
The Finished Product
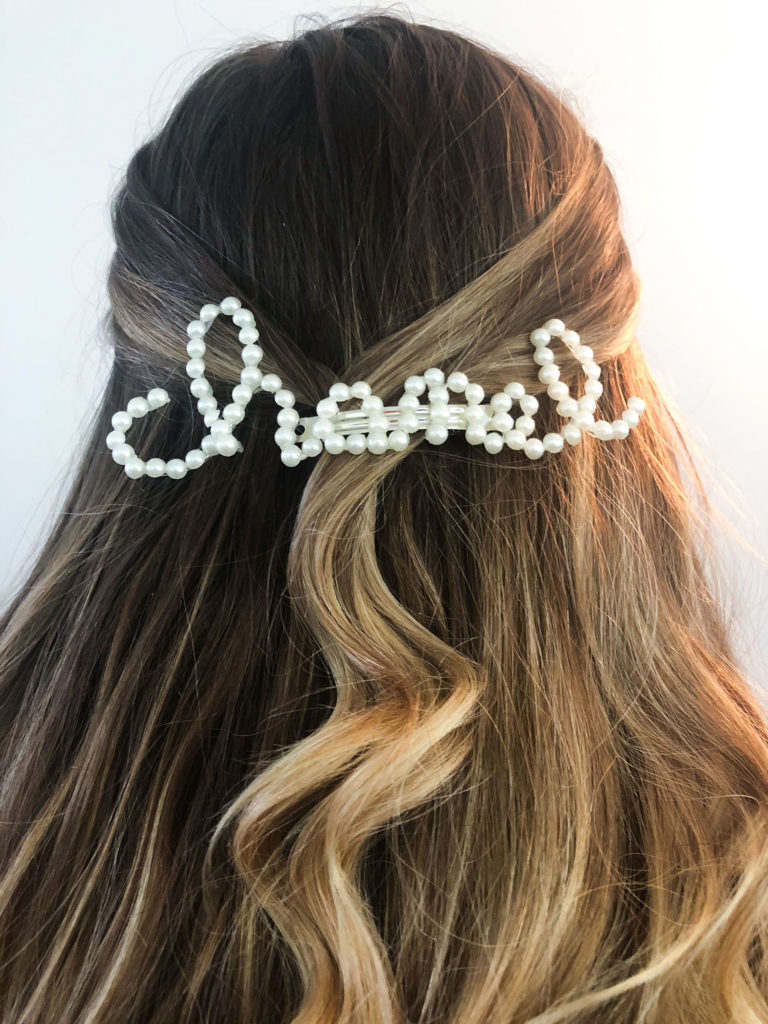
This is what it looks like completed and in my hair! It’s definitely not a $3000 hair clip but it’s still really cute!
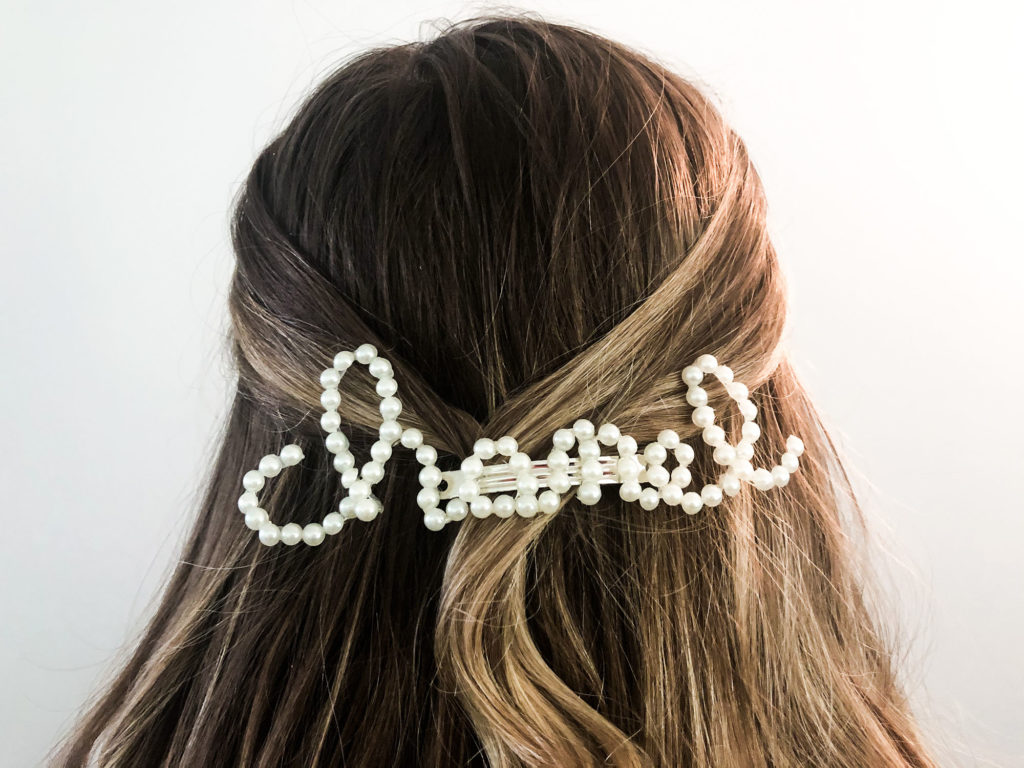
You also have enough leftover wire and pearls for more DIY projects. You can even make different customizable clips like your name or a favorite place/word! If you end up trying this out be sure to tag me on Instagram or Twitter, I’d love to see what you make!